
在分组表视图中向每个节添加阴影
在分组表视图中向每个节添加阴影
提问于 2018-01-24 23:18:53
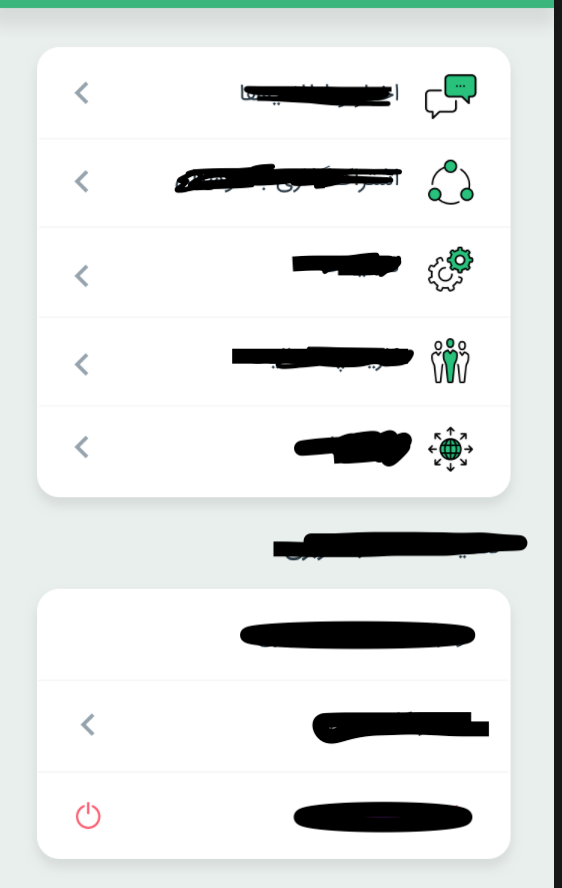
如图所示,我想向我的表视图部分添加阴影。就像表视图有4个部分一样,表视图中将有4个阴影视图。
func numberOfSections( tableView: UITableView) -> Int {返回3}
func tableView(_ tableView: UITableView, numberOfRowsInSection section: Int) -> Int {
    return 3
}

func tableView(_ tableView: UITableView, cellForRowAt indexPath: IndexPath) -> UITableViewCell {
    switch processIndex {
        return cell
}

func tableView(_ tableView: UITableView, heightForRowAt indexPath: IndexPath) -> CGFloat {
    return  44
}

func tableView(_ tableView: UITableView, viewForHeaderInSection section: Int) -> UIView? {
        return UIView
}

func tableView(_ tableView: UITableView, heightForHeaderInSection section: Int) -> CGFloat {
        return 40
}
回答 3
Stack Overflow用户
回答已采纳
发布于 2018-01-25 12:26:45
我试过用定制的[String : UIView]。这将适用于最少的行数。如果您的单元设计是静态的,这将满足您的设计。如果要访问UITableViewCell中的某些属性,则必须使用子视图。
- 只有一行的多个区段。该行中只有一个视图(
lookView)。 - 我们必须根据需求编程创建n个
UIView数。 UITapGesture到TableView。TableView格式为Grouped,Separator为.none。
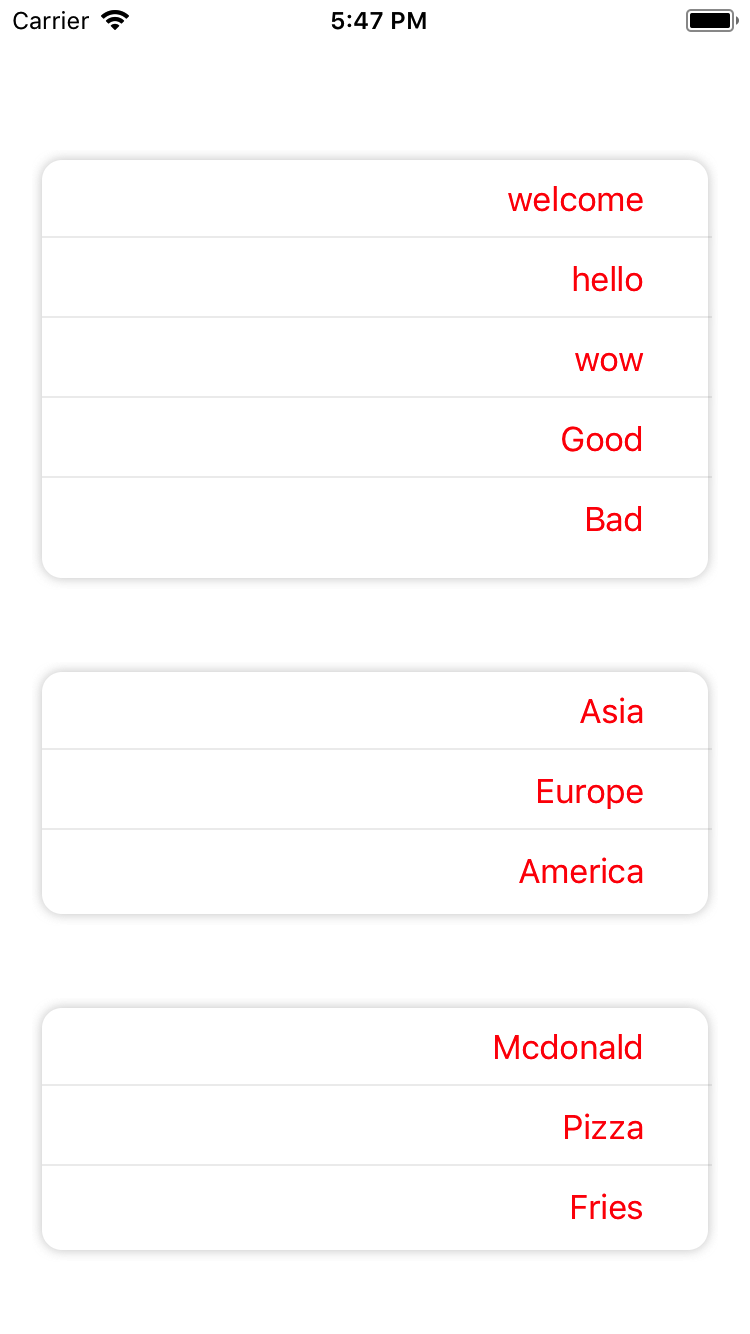
下面的代码将给出如下的输出:
//Global Variable:


@IBOutlet weak var tblVw: UITableView!

var rowItemsDict = [String : [String]]()
var rowHeight = [String : CGFloat]()
var eachRowSubViews = [String : UIView]()


override func viewDidAppear(_ animated: Bool) {

    rowItemsDict = ["0" : ["welcome", "hello", "wow", "Good", "Bad"], "1" : ["Asia", "Europe", "America"], "2" : ["Mcdonald", "Pizza", "Fries"]]

    for i in 0..<rowItemsDict.count
    {
        let numOfSubItemsArr : [String] = rowItemsDict[String(i)]!
        let eachRowHeight : CGFloat = getShadowViewHeight(defaultHeight: 44.0, numberOfItems: numOfSubItemsArr.count)

        var subArrView = UIView()

        for j in 0..<numOfSubItemsArr.count
        {
            let sublabel = UILabel(frame: CGRect(x: 0, y: 0, width: tblVw.frame.size.width - 42, height: 39))
            sublabel.text = numOfSubItemsArr[j]
            sublabel.isUserInteractionEnabled = true
            sublabel.textAlignment = .right
            sublabel.textColor = UIColor.red
            let subView = UIView(frame: CGRect(x: 0, y: CGFloat((j * 40)), width: tblVw.frame.size.width, height: 39))
            subView.addSubview(sublabel)
            subView.backgroundColor = UIColor.clear
            subView.tag = ((i+1) * 100) + j

            if j == (numOfSubItemsArr.count - 1)
            {

            }
            else
            {
                let LinesubView = UIView(frame: CGRect(x: 0, y: 38, width: tblVw.frame.size.width - 8, height: 1))
                LinesubView.backgroundColor = UIColor.lightGray.withAlphaComponent(0.2)
                subView.addSubview(LinesubView)
            }

            subView.isUserInteractionEnabled = true
            subArrView.addSubview(subView)
            subArrView.isUserInteractionEnabled = true
        }

        eachRowSubViews[String(i)] = subArrView
        rowHeight[String(i)] = eachRowHeight
    }

    let tapGesture = UITapGestureRecognizer(target: self, action: #selector(tapEachView))
    tblVw.addGestureRecognizer(tapGesture)
    tblVw.reloadData()
}


// TABLEVIEW DELEGATES
func numberOfSections(in tableView: UITableView) -> Int {


    return rowItemsDict.count
}

func tableView(_ tableView: UITableView, numberOfRowsInSection section: Int) -> Int {

    return 1
}
func tableView(_ tableView: UITableView, cellForRowAt indexPath: IndexPath) -> UITableViewCell {

    let cell = tableView.dequeueReusableCell(withIdentifier: "cell", for: indexPath) as! SampleTableViewCell

    print("\n\ncellFor")
    cell.backgroundColor = UIColor(red: 240/255, green: 240/255, blue: 240/255, alpha: 0.0)
    cell.separatorVw.backgroundColor = UIColor(red: 250/255, green: 250/255, blue: 250/255, alpha: 0.0)
    tableView.clipsToBounds = true
    let gettingVw : UIView = eachRowSubViews[String(indexPath.section)]!
    cell.lookVw.addSubview(gettingVw)
    cell.lookVw.layer.cornerRadius = 10
    cell.separatorVw.backgroundColor = UIColor.clear

    cell.selectionStyle = .none
    return cell
}


func tableView(_ tableView: UITableView, willDisplay cell: UITableViewCell, forRowAt indexPath: IndexPath) {

    let cell = cell as! SampleTableViewCell

    cell.lookVw.dropOnlyOneShadowLeft(getSize: CGSize.zero)
    cell.lookVw.backgroundColor = UIColor.white


}

func tableView(_ tableView: UITableView, heightForRowAt indexPath: IndexPath) -> CGFloat {

    return (rowHeight[String(indexPath.section)]! )

}


//ROW HEIGHT CALCULATION
func getShadowViewHeight(defaultHeight: CGFloat, numberOfItems: Int) -> CGFloat
{
    let requiredHeight = CGFloat(Int(defaultHeight) * numberOfItems)

    return requiredHeight
}

//TAP GESTURE ACTION
@objc func tapEachView(sender: UITapGestureRecognizer)
{
    let touchPoint = sender.location(in: tblVw)
    let index = tblVw.indexPathForRow(at: touchPoint)

    if (index == nil)
    {
            print("long press on table view but not on a row");
    }
    else
    {
        let cell = tblVw.cellForRow(at: index!) as! SampleTableViewCell
        let pointInCell = cell.convert(touchPoint, from: tblVw)

        let innerSubVw = cell.lookVw.subviews
        print("pointInCellpointInCell)  ", pointInCell)
        for sVw in innerSubVw[0].subviews
        {
            let pointY = pointInCell.y - 5
            let comparePoint = sVw.frame.origin.y

            if pointY >= comparePoint && pointY <= comparePoint + 39
            {
                print("sVwsVwsVwsVwsVw    ", sVw.tag)

                //DO YOUR ACTION IN RESPECTIVE VIEW CLICK
                return
            }

        }

    }
}


extension UIView {
    func dropOnlyOneShadowLeft(getSize: CGSize) {
        self.layer.shadowColor = UIColor.lightGray.cgColor
        self.layer.shadowOpacity = 0.6
        self.layer.shadowOffset = getSize
        self.layer.shadowRadius = 3
    }
}Stack Overflow用户
发布于 2021-08-10 08:13:36
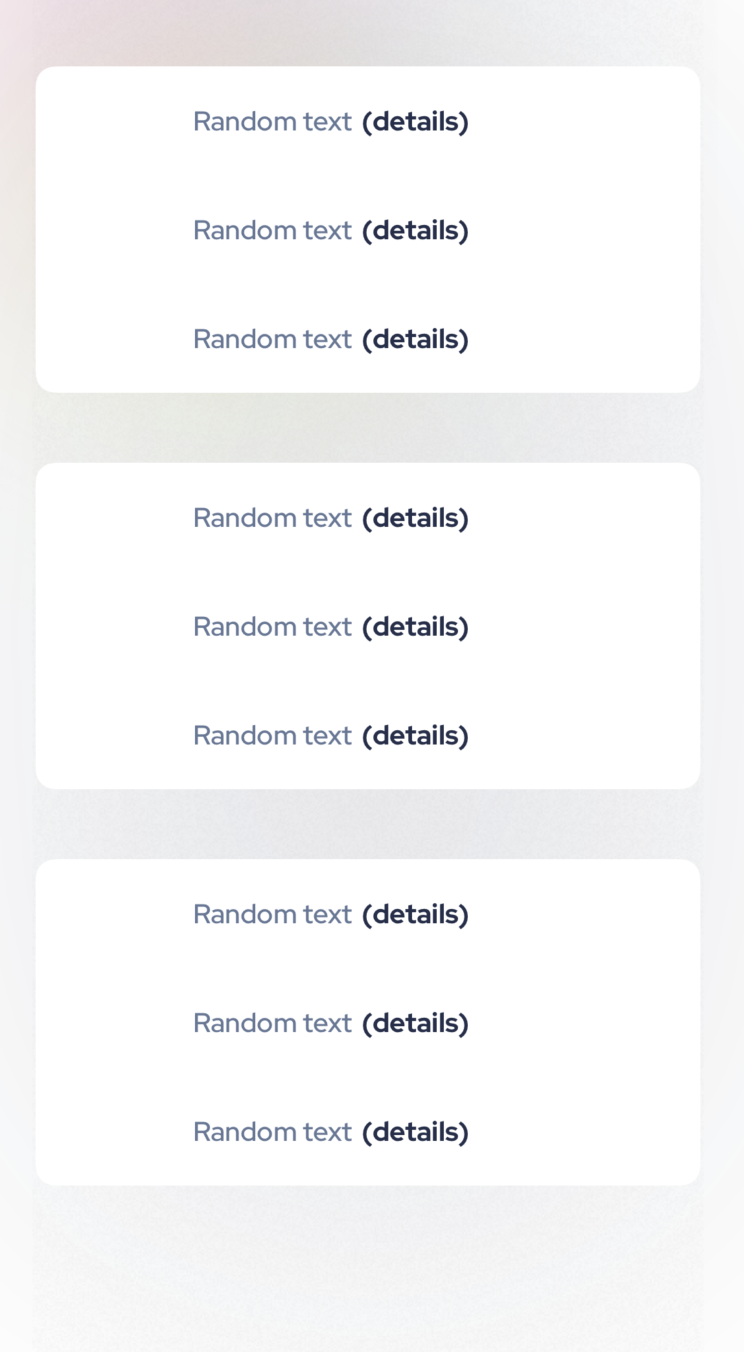
有一个更容易的方法来显示阴影的每一节。
- 将表视图的背景色设置为
UIColor.clear - 将表视图样式设置为分组(或者对于iOS 13+,您甚至可以选择
Inset Grouped样式,这也将为每个部分添加角) - 向整个表视图添加阴影。这将把阴影转移到每个部分。
若要向表视图添加阴影,请执行以下操作:
tableView.layer.masksToBounds = false
tableView.layer.shadowColor = UIColor.black.withAlphaComponent(0.4).cgColor // any value you want
tableView.layer.shadowOpacity = 1 // any value you want
tableView.layer.shadowRadius = 100 // any value you want
tableView.layer.shadowOffset = .init(width: 0, height: 10) // any value you want
Stack Overflow用户
发布于 2022-06-17 06:46:46
这将只为节而不是页眉/页脚设置阴影:
tableView.backgroundColor = .clear
tableView.subviews.forEach { view in
    view.layer.shadowColor = UIColor.darkGray.cgColor
    view.layer.shadowOpacity = 0.4
    view.layer.shadowOffset = .zero
    view.layer.shadowRadius = 3
}页面原文内容由Stack Overflow提供。腾讯云小微IT领域专用引擎提供翻译支持
原文链接:
https://stackoverflow.com/questions/48433282
复制相关文章
相似问题
腾讯云开发者

Copyright © 2013 - 2026 Tencent Cloud. All Rights Reserved. 腾讯云 版权所有
深圳市腾讯计算机系统有限公司 ICP备案/许可证号:粤B2-20090059 ![]() 粤公网安备44030502008569号
粤公网安备44030502008569号
腾讯云计算(北京)有限责任公司 京ICP证150476号 | 京ICP备11018762号