
Opencv python HoughLinesP奇怪结果
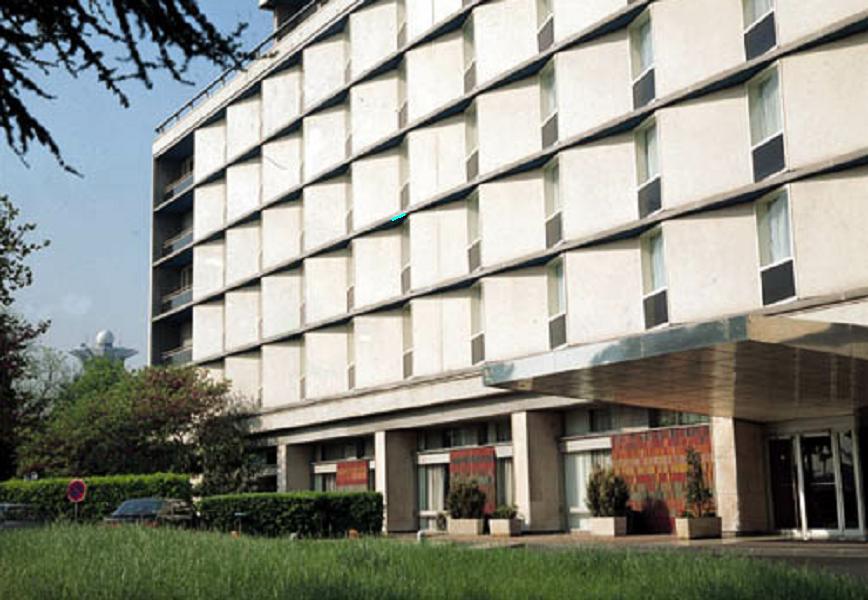
我正试图获得与这教程中HoughLinesP过滤器相同的结果。我拍摄了相同的图像和阈值,如下所示:
import cv2
from line import Line
import numpy as np
img = cv2.imread('building.jpg',1)
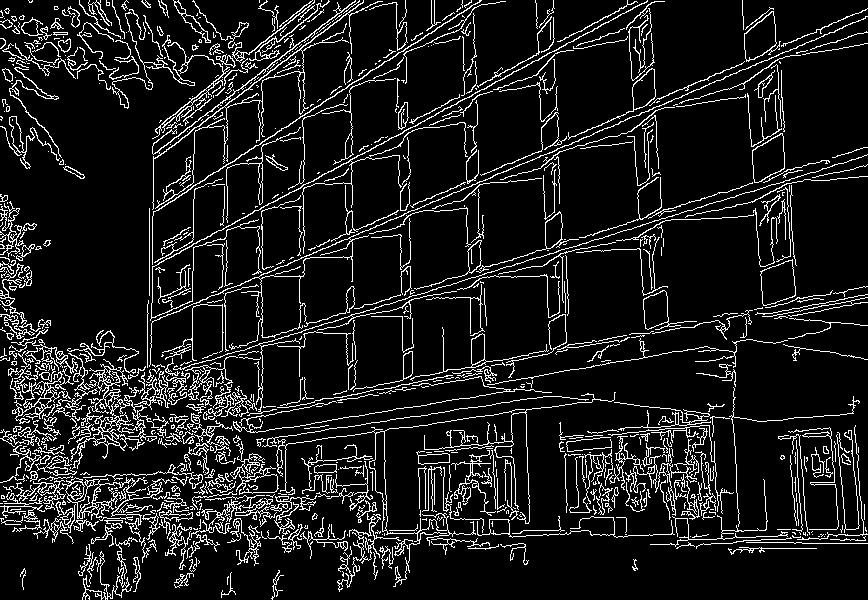
cannied = cv2.Canny(img, 50, 200, 3)
lines = cv2.HoughLinesP(cannied, 1, np.pi / 180, 80, 30, 10)
for leftx, boty, rightx, topy in lines[0]:
line = Line((leftx, boty), (rightx,topy))
line.draw(img, (255, 255, 0), 2)
cv2.imwrite('lines.png',img)
cv2.imwrite('canniedHouse.png',cannied)
cv2.waitKey(0)
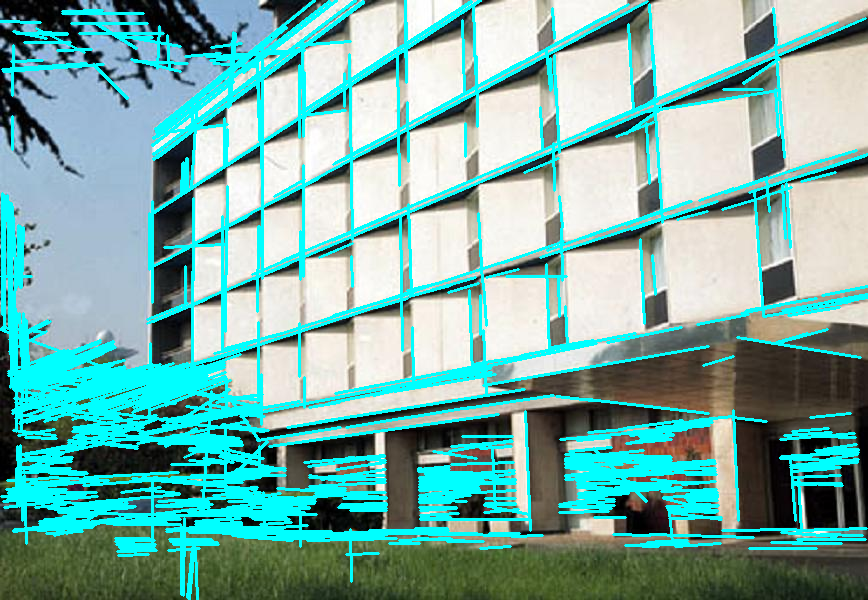
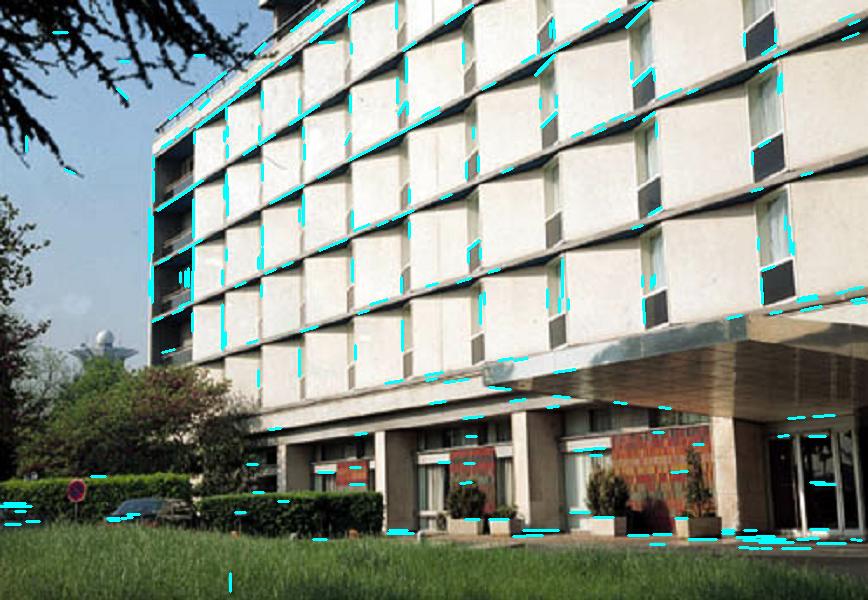
cv2.destroyAllWindows()Line类是一个自定义类,它不做任何有趣的事情,只需要计算一些内容,并且可以画出界限。然后我得到了这两幅图像:
所以正如你所看到的,在图像的中间,我只得到了一升的线。
不知道出了什么问题。我错过了什么吗?
谢谢。
回答 3
Stack Overflow用户
发布于 2016-04-06 13:49:06
注意:由于您链接了OpenCV 2.4.x的教程,我最初假设您也使用OpenCV 2.4.11编写了代码。实际上,您使用的是OpenCV 3.x。请记住,API在2.x和3.x之间有细微的变化。
你打错了HoughLinesP。
根据文档,Python函数的签名是:
cv2.HoughLinesP(image, rho, theta, threshold[, lines[, minLineLength[, maxLineGap]]]) → lines如果我们标记您调用中的参数,我们将得到以下信息:
lines = cv2.HoughLinesP(cannied, rho=1, theta=np.pi / 180
    , threshold=80, lines=30, minLineLength=10)
但是,正确地移植到Python的C++代码将是
lines = cv2.HoughLinesP(cannied, rho=1, theta=np.pi / 180
    , threshold=80, minLineLength=30, maxLineGap=10)
与Canny相似的情况
cv2.Canny(image, threshold1, threshold2[, edges[, apertureSize[, L2gradient]]]) → edges同样,让我们给参数贴上标签:
cannied = cv2.Canny(img, threshold1=50, threshold2=200, edges=3)但应该是:
cannied = cv2.Canny(img, threshold1=50, threshold2=200, apertureSize=3)但是,这对输出没有影响,因为apertureSize的默认值是3。
最后,正如我们使用瓦桑和纳马托伊识别的那样,cv2.HoughLinesP生成的输出的格式有所不同。
- 在2.4中,它看起来像
[[[x1, y1, x2, y2], [...], ..., [...]]] - 在3.x中,它看起来像
[[[x1, y1, x2, y2]], [[...]], ..., [[...]]]
我添加了一个简短的get_lines函数,将两个版本中的行转换为一致的布局([[x1, y1, x2, y2], [...], ..., [...]])。
在两个OpenCV版本中工作的完整脚本:
import cv2
import numpy as np


def get_lines(lines_in):
    if cv2.__version__ < '3.0':
        return lines_in[0]
    return [l[0] for l in lines]


img = cv2.imread('building.jpg')
img_gray = gray = cv2.cvtColor(img, cv2.COLOR_BGR2GRAY)

cannied = cv2.Canny(img_gray, threshold1=50, threshold2=200, apertureSize=3)
lines = cv2.HoughLinesP(cannied, rho=1, theta=np.pi / 180, threshold=80, minLineLength=30, maxLineGap=10)

for line in get_lines(lines):
    leftx, boty, rightx, topy = line
    cv2.line(img, (leftx, boty), (rightx,topy), (255, 255, 0), 2)

cv2.imwrite('lines.png',img)
cv2.imwrite('canniedHouse.png',cannied)
cv2.waitKey(0)
cv2.destroyAllWindows()Stack Overflow用户
发布于 2016-04-06 13:42:58
正如丹的回答所提到的,在Canny和HoughLinesP中没有正确地指定这些参数。
修改后的代码:
import cv2
from line import Line
import numpy as np

img = cv2.imread('building.jpg',1)
cannied = cv2.Canny(img, 50, 200, apertureSize=3)
lines = cv2.HoughLinesP(cannied, 1, np.pi / 180, 80, minLineLength=30, maxLineGap=10)

for leftx, boty, rightx, topy in lines[0]:
    line = Line((leftx, boty), (rightx,topy))
    line.draw(img, (255, 255, 0), 2)

cv2.imwrite('lines.png',img)
cv2.imwrite('canniedHouse.png',cannied)
cv2.waitKey(0)
cv2.destroyAllWindows()
输出:
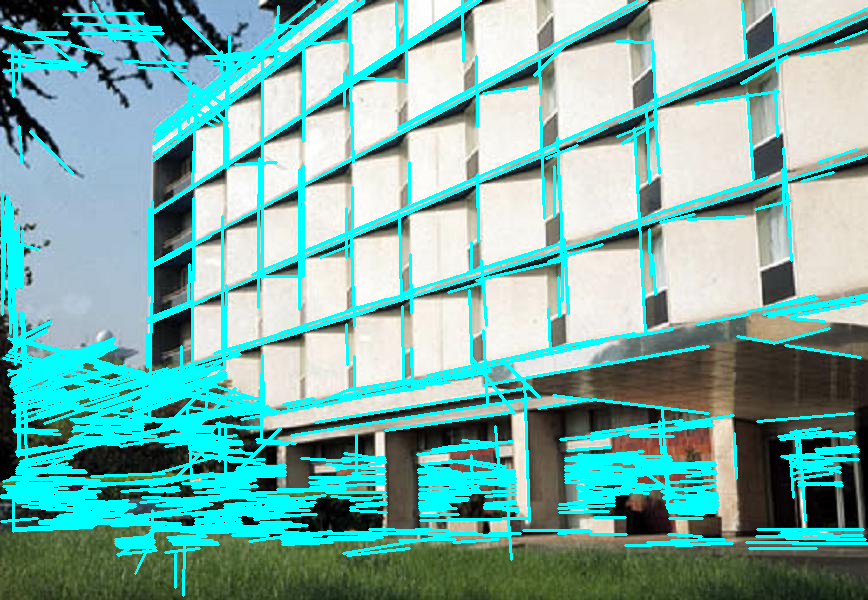
如果您使用的是OpenCV-3+,请使用这个for-循环,因为HoughLinesP返回不同的输出格式[[[x1, y1, x2, y2]], [[...]]...[[...]]]。
for l in lines:  #Modified to loop across all the lines
    leftx, boty, rightx, topy = l[0] #assign each line's values to variables
    line = Line((leftx, boty), (rightx,topy))
line.draw(img, (255, 255, 0), 2)Stack Overflow用户
发布于 2016-04-06 13:42:45
代码中的问题是如何安排返回的行。这段代码适用于我:
import cv2
import numpy as np

img = cv2.imread('building.jpg',1)
cannied = cv2.Canny(img, 50, 200, 3)
lines = cv2.HoughLinesP(cannied, 1, np.pi / 180, 80, 30, 10)

for line in lines:
    leftx, boty, rightx, topy = line[0]
    cv2.line(img, (leftx, boty), (rightx,topy), (255, 255, 0), 2)

cv2.imwrite('lines.png',img)
cv2.imwrite('canniedHouse.png',cannied)
cv2.imshow('', img)
cv2.waitKey(0)
cv2.destroyAllWindows()
为了让代码在我的机器上运行,我还做了一些其他的小改动。
我认为您需要更改一些参数才能获得与文档中完全相同的结果。
https://stackoverflow.com/questions/36452491
复制相似问题
腾讯云开发者

Copyright © 2013 - 2026 Tencent Cloud. All Rights Reserved. 腾讯云 版权所有
深圳市腾讯计算机系统有限公司 ICP备案/许可证号:粤B2-20090059 ![]() 粤公网安备44030502008569号
粤公网安备44030502008569号
腾讯云计算(北京)有限责任公司 京ICP证150476号 | 京ICP备11018762号