
AVCaptureStillImageOutput & UIImagePNGRepresentation
我很难做一些我认为不应该那么困难的事情,所以我想我一定是从错误的角度来看待这个问题。为了了解AVCaptureStillImageOutput和摄像头是如何工作的,我制作了一个小应用程序。
这个应用程序能够拍摄一张照片并将其保存为一个PNG文件(我不想要JPEG)。下一次启动应用程序时,它会检查文件是否存在,如果存在,则将存储在该文件中的图像用作应用程序的背景视图。这个想法相当简单。
问题是它不起作用。如果有人能告诉我我做错了什么,那会很有帮助的。
我想把这张照片作为背景出现,就像它被拍摄时在显示器上显示的那样,但是它是旋转的或者有错误的比例的..etc。
这是相关代码(如果需要,我可以提供更多信息)。
viewDidLoad方法:
override func viewDidLoad() {
    super.viewDidLoad()

    // For the photo capture:
    captureSession.sessionPreset = AVCaptureSessionPresetHigh

    // Select the appropriate capture devices:
    for device in AVCaptureDevice.devices() {
        // Make sure this particular device supports video.
        if (device.hasMediaType(AVMediaTypeVideo)) {
            // Finally check the position and confirm we've got the back camera.
            if(device.position == AVCaptureDevicePosition.Back) {
                captureDevice = device as? AVCaptureDevice
            }
        }
    }

    tapGesture = UITapGestureRecognizer(target: self, action: Selector("takePhoto"))
    self.view.addGestureRecognizer(tapGesture)

    let filePath = self.toolBox.getDocumentsDirectory().stringByAppendingPathComponent("BackGroundImage@2x.png")

    if !NSFileManager.defaultManager().fileExistsAtPath(filePath) {return}

    let bgImage = UIImage(contentsOfFile: filePath),
    bgView = UIImageView(image: bgImage)
    self.view.addSubview(bgView)
}
处理拍照的方法:
func takePhoto() {
    if !captureSession.running {
        beginPhotoCaptureSession()
        return
    }

    if let videoConnection = stillImageOutput.connectionWithMediaType(AVMediaTypeVideo) {
        stillImageOutput.captureStillImageAsynchronouslyFromConnection(videoConnection) {
            (imageDataSampleBuffer, error) -> Void in
            if error == nil {
                var localImage = UIImage(fromSampleBuffer: imageDataSampleBuffer)
                UIGraphicsBeginImageContext(localImage!.size)
                CGContextRotateCTM (UIGraphicsGetCurrentContext(), CGFloat(M_PI_2))
                //localImage!.drawAtPoint(CGPointZero)
                localImage!.drawAtPoint(CGPoint(x: -localImage!.size.height, y: -localImage!.size.width))
                //localImage!.drawAtPoint(CGPoint(x: -localImage!.size.width, y: -localImage!.size.height))
                localImage = UIGraphicsGetImageFromCurrentImageContext()
                UIGraphicsEndImageContext()
                localImage = resizeImage(localImage!, toSize: self.view.frame.size)

                if let data = UIImagePNGRepresentation(localImage!) {
                    let bitMapName = "BackGroundImage@2x"
                    let filename = self.toolBox.getDocumentsDirectory().stringByAppendingPathComponent("\(bitMapName).png")
                    data.writeToFile(filename, atomically: true)
                    print("Picture saved: \(bitMapName)\n\(filename)")
                }
            } else {print("Error on taking a picture:\n\(error)")}
        }
    }

    captureSession.stopRunning()
    previewLayer!.removeFromSuperlayer()
}
启动AVCaptureSession的方法:
func beginPhotoCaptureSession() {
do {let input = try AVCaptureDeviceInput(device: captureDevice)
captureSession.addInput(input)
} catch let error as NSError {
// Handle any errors:
print(error)
}
previewLayer = AVCaptureVideoPreviewLayer(session: captureSession)
previewLayer?.frame = self.view.layer.frame
self.view.layer.addSublayer(previewLayer!)
captureSession.startRunning()
stillImageOutput.outputSettings = [kCVPixelBufferPixelFormatTypeKey:Int(kCVPixelFormatType_32BGRA)]
if captureSession.canAddOutput(stillImageOutput) {
captureSession.addOutput(stillImageOutput)
}
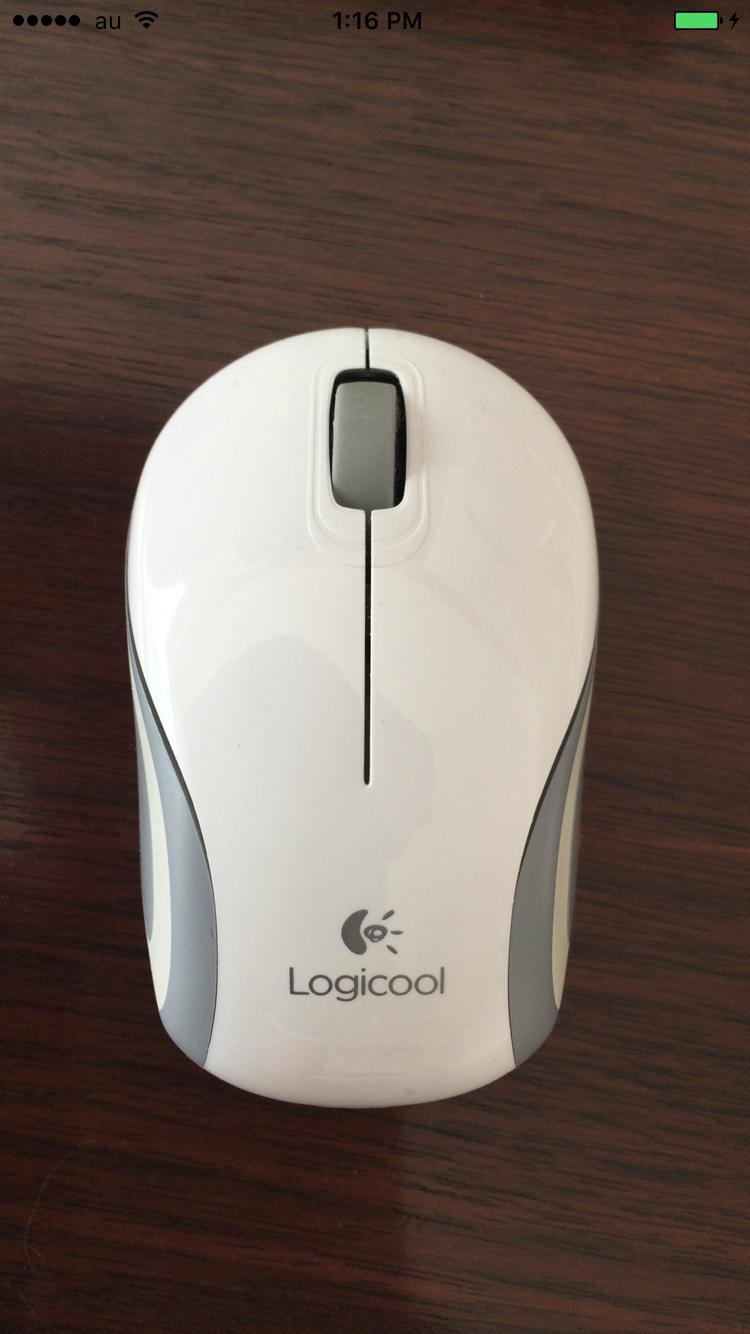
}举个例子,下面是用该应用程序拍摄的图片:
下面是我在重新启动应用程序时所得到的背景信息:
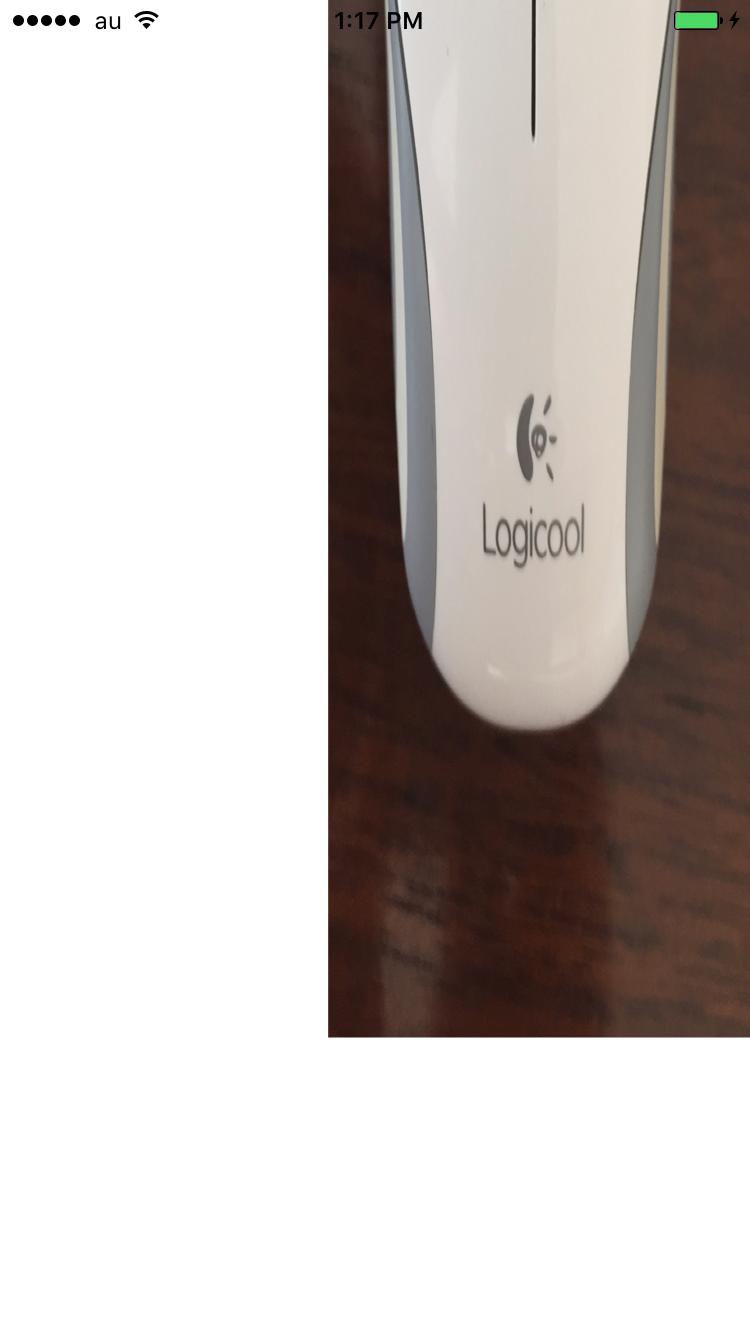
如果它工作正常,这两张图片将是相似的。
回答 2
Stack Overflow用户
发布于 2016-01-08 02:34:53
对于那些可能在某一时刻遇到相同问题的人,我会在代码中修正的内容下面发布,以使其正常工作。可能还需要一些改进来支持所有可能的方向,但从一开始就可以了。
    if let videoConnection = stillImageOutput.connectionWithMediaType(AVMediaTypeVideo) {
        stillImageOutput.captureStillImageAsynchronouslyFromConnection(videoConnection) {
            (imageDataSampleBuffer, error) -> Void in
            if error == nil {
                var localImage = UIImage(fromSampleBuffer: imageDataSampleBuffer)
                var imageSize = CGSize(width: UIScreen.mainScreen().bounds.height * UIScreen.mainScreen().scale,
                    height: UIScreen.mainScreen().bounds.width * UIScreen.mainScreen().scale)
                localImage = resizeImage(localImage!, toSize: imageSize)

                imageSize = CGSize(width: imageSize.height, height: imageSize.width)
                UIGraphicsBeginImageContext(imageSize)
                CGContextRotateCTM (UIGraphicsGetCurrentContext(), CGFloat(M_PI_2))
                localImage!.drawAtPoint(CGPoint(x: 0.0, y: -imageSize.width))
                localImage = UIGraphicsGetImageFromCurrentImageContext()
                UIGraphicsEndImageContext()

                if let data = UIImagePNGRepresentation(localImage!) {
                    data.writeToFile(self.bmpFilePath, atomically: true)
                }
            } else {print("Error on taking a picture:\n\(error)")}
        }
}Stack Overflow用户
发布于 2016-01-07 05:26:54
我看不出屏幕截图中的旋转。但是当您在function takePhoto中绘制它时,这个比例是一个与您的代码相关的问题。你可以试试
func takePhoto() {
    if !captureSession.running {
        beginPhotoCaptureSession()
        return
    }
    if let videoConnection = stillImageOutput.connectionWithMediaType(AVMediaTypeVideo) {
        stillImageOutput.captureStillImageAsynchronouslyFromConnection(videoConnection) {
            (imageDataSampleBuffer, error) -> Void in
            if error == nil {
               if let data = AVCaptureStillImageOutput.jpegStillImageNSDataRepresentation(imageDataSampleBuffer) {
                    let bitMapName = "BackGroundImage@2x"
                    let filename = self.toolBox.getDocumentsDirectory().stringByAppendingPathComponent("\(bitMapName).png")
                    data.writeToFile(filename, atomically: true)
                    print("Picture saved: \(bitMapName)\n\(filename)")
                }
            } else {print("Error on taking a picture:\n\(error)")}
        }
    }

    captureSession.stopRunning()
    previewLayer!.removeFromSuperlayer()
}https://stackoverflow.com/questions/34646982
复制相似问题
腾讯云开发者

Copyright © 2013 - 2026 Tencent Cloud. All Rights Reserved. 腾讯云 版权所有
深圳市腾讯计算机系统有限公司 ICP备案/许可证号:粤B2-20090059 ![]() 粤公网安备44030502008569号
粤公网安备44030502008569号
腾讯云计算(北京)有限责任公司 京ICP证150476号 | 京ICP备11018762号