
超像素opencv2中的阈值
超像素opencv2中的阈值
提问于 2021-07-26 12:46:58
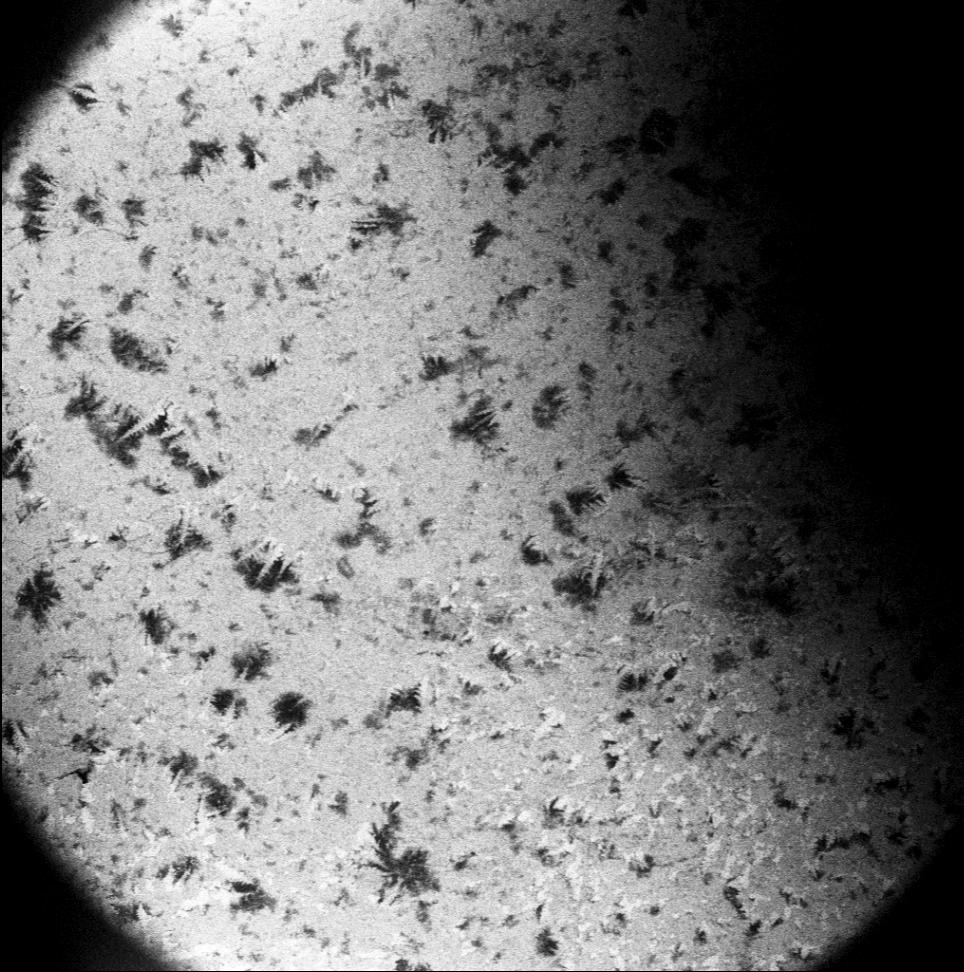
我试图使用cv2模块来接收图像中相对黑暗区域的像素坐标。
首先,通过cv2.ximgproc.createSuperpixelSLIC()方法将其划分为超像素.
然后,我想将每个超像素看作ROI,并根据其“强度”对其进行阈值化,这样较暗的区域(即强度低于某些预先配置的阈值)将是1,而在强度相对较高的区域(即大于此阈值),则为0。
我尝试了下面的代码,但问题是,这是突出背景(显然,它也黑暗)。
import cv2
import numpy as np


# Parameters
IMG_FILE_PATH = 'PATH TO THE IMAGE'
REGION_SIZE = 200
RULER = 20
N = 10
SAMPLE_SIZE = 5
INTENSITY_TH = 100
# ---

# 1) Load the image
img = cv2.imread(IMG_FILE_PATH, cv2.IMREAD_GRAYSCALE)

# 2) Compute the superpixels
slic = cv2.ximgproc.createSuperpixelSLIC(img, region_size=REGION_SIZE, ruler=RULER)

# 3) Get the characteristics of the superpixels calculated
slic.iterate(N)
slic.enforceLabelConnectivity()
lbls = slic.getLabels()
num_slic = slic.getNumberOfSuperpixels()

# 4) Sample some of the superpixels
sample_idxs = np.random.choice(np.arange(num_slic), size=SAMPLE_SIZE, replace=False)
for idx in sample_idxs:
    img_super_pixel = np.uint8(img * (lbls==idx).astype(np.int16))
    ret, mask_fg = cv2.threshold(img_super_pixel, INTENSITY_TH, 255, cv2.THRESH_BINARY)
    img_super_pixel_th = cv2.bitwise_and(img_super_pixel, img_super_pixel, mask=mask_fg)

    cv2.imshow('Super-pixel', img_super_pixel)
    cv2.imshow('Super-pixel - thresholded', img_super_pixel_th)

    cv2.waitKey()
    cv2.destroyAllWindows()
下面是一个示例图像:
当前输出示例:
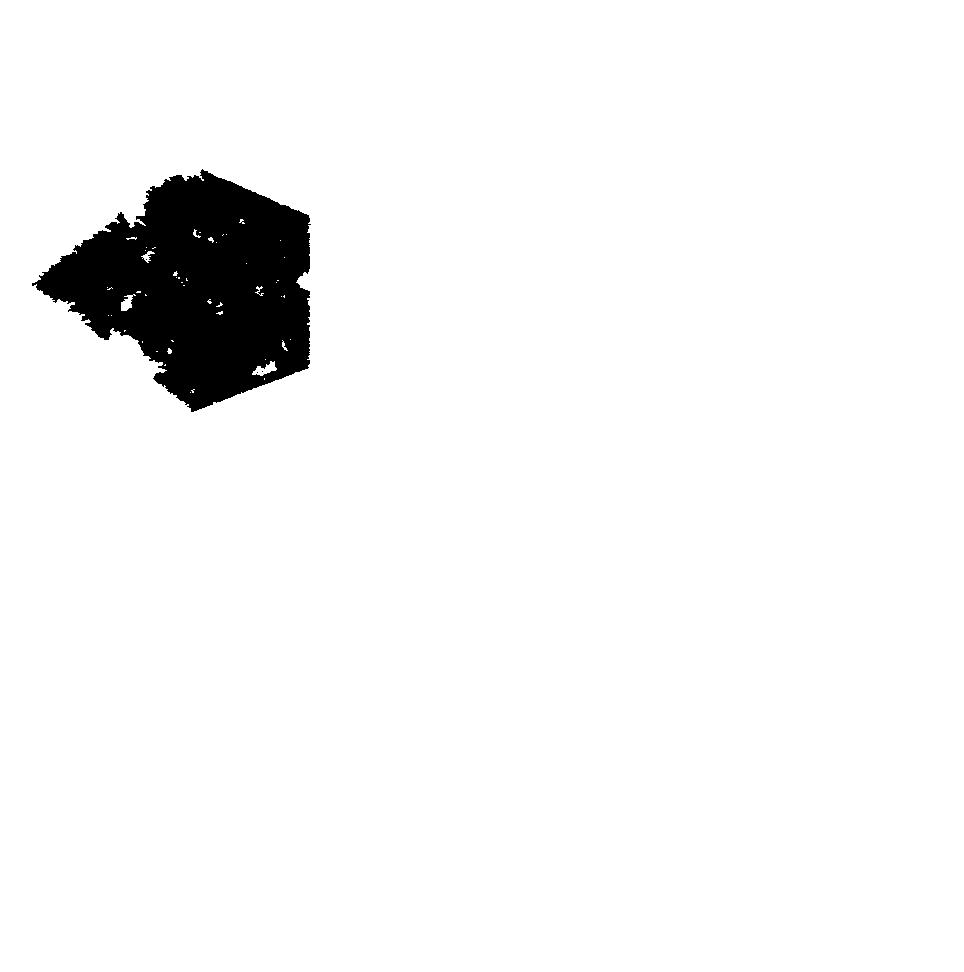
因此,正如我们所看到的,背景用1.表示,很明显,因为它小于阈值,但我需要的是,只有超像素中的黑点才是白色的,而在超像素区域超过阈值的背景将是黑色的。
有没有办法只在ROI上应用阈值,即。超像素,而不是背景?
提前谢谢。
回答 1
Stack Overflow用户
发布于 2021-07-26 14:46:38
我能够通过手动检查区域中低于阈值的像素来解决这个问题,如下代码所示:
import cv2
import numpy as np
import pandas as pd
from pathlib import Path

# Parameters
IMG_FILE_PATH = 'PATH_TO_IMAGE'
OUTDIR = Path('OUTPUT_FOLDER')
REGION_SIZE = 200
RULER = 20
N = 10
SAMPLE_SIZE = 5
INTENSITY_TH = 100
# ---

# 1) Load the image
img = cv2.imread(IMG_FILE_PATH, cv2.IMREAD_GRAYSCALE)

# 2) Compute the superpixels
slic = cv2.ximgproc.createSuperpixelSLIC(img, region_size=REGION_SIZE, ruler=RULER)

# 3) Get the characteristics of the superpixels calculated
slic.iterate(N)
slic.enforceLabelConnectivity()
mask_slic = slic.getLabelContourMask()
lbls = slic.getLabels()
num_slic = slic.getNumberOfSuperpixels()

# 4) Sample some of the superpixels
sample_idxs = np.random.choice(np.arange(num_slic), size=SAMPLE_SIZE, replace=False)
for idx in sample_idxs:

    # 4.1) Create pandas.DataFrame to store the points and their validity based on the threshold
    sp_pixels_df = pd.DataFrame(columns=['x', 'y', 'relevant'])

    # 4.2) Get the current super-pixel
    img_super_pixel = np.uint8(img * (lbls==idx).astype(np.int16))

    # 4.3) Find the coordinates of the pixels inside the current super-pixel
    img_super_pixel_idx = np.argwhere(lbls==idx)

    # 4.4) Separate the x and y coordinates of the points which are located inside the superpixel
    xs, ys = np.array([t[0] for t in img_super_pixel_idx]), np.array([t[1] for t in img_super_pixel_idx])

    # 4.5) Find the pixels inside the superpixel, which intensity is below the threshold
    low_intensity_pixels = img_super_pixel[tuple([xs, ys])] < INTENSITY_TH

    # 4.6) Populate the pandas.DataFrame
    sp_pixels_df['x'] = xs
    sp_pixels_df['y'] = ys
    sp_pixels_df['relevant'] = low_intensity_pixels

    # 4.7) Get the valid pixel coordinates
    relevant_points = sp_pixels_df.loc[sp_pixels_df.relevant, ['x', 'y']].values

    # 4.8) Separate the x and y coordinates of the relevant points which are located inside the superpixel
    relevant_xs, relevant_ys = np.array([t[0] for t in relevant_points]), np.array([t[1] for t in relevant_points])

    # 4.9) Convert the gray-scale image to BGR to be able to mark the relevant pixels in red
    img_super_pixel_highlighted = cv2.cvtColor(img_super_pixel, cv2.COLOR_GRAY2BGR)


    # 4.10) Highlight the relevant pixels
    img_super_pixel_highlighted[tuple([relevant_xs, relevant_ys])] = (0, 0, 255)
    cv2.imshow('Original Superpixels', img_super_pixel)
    cv2.imshow('Relevant pixels highlighted', img_super_pixel_highlighted)
    cv2.waitKey()
    cv2.destroyAllWindows()
输出:
- 原文:
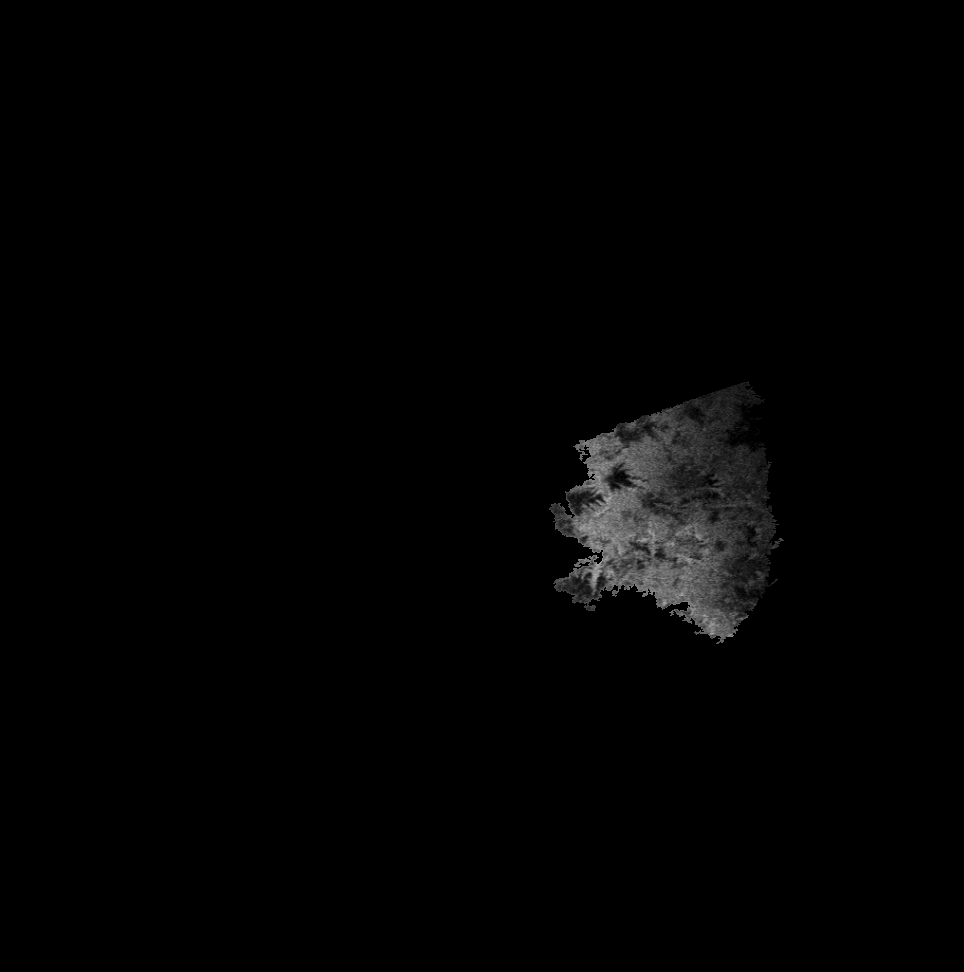
突出显示:
- :
干杯!
页面原文内容由Stack Overflow提供。腾讯云小微IT领域专用引擎提供翻译支持
原文链接:
https://stackoverflow.com/questions/68530131
复制相关文章
相似问题
腾讯云开发者

Copyright © 2013 - 2026 Tencent Cloud. All Rights Reserved. 腾讯云 版权所有
深圳市腾讯计算机系统有限公司 ICP备案/许可证号:粤B2-20090059 ![]() 粤公网安备44030502008569号
粤公网安备44030502008569号
腾讯云计算(北京)有限责任公司 京ICP证150476号 | 京ICP备11018762号