
设计标识支架Razor页面以使用默认Blazor主题
我刚刚使用标识脚手架将标识添加到我现有的Blazor项目中。我遵循了这个微软学习指南这里。
但是,由于标识使用Razor页面而不是Razor组件,所以当访问者在标识页和组件之间导航时,UI的样式发生了变化。
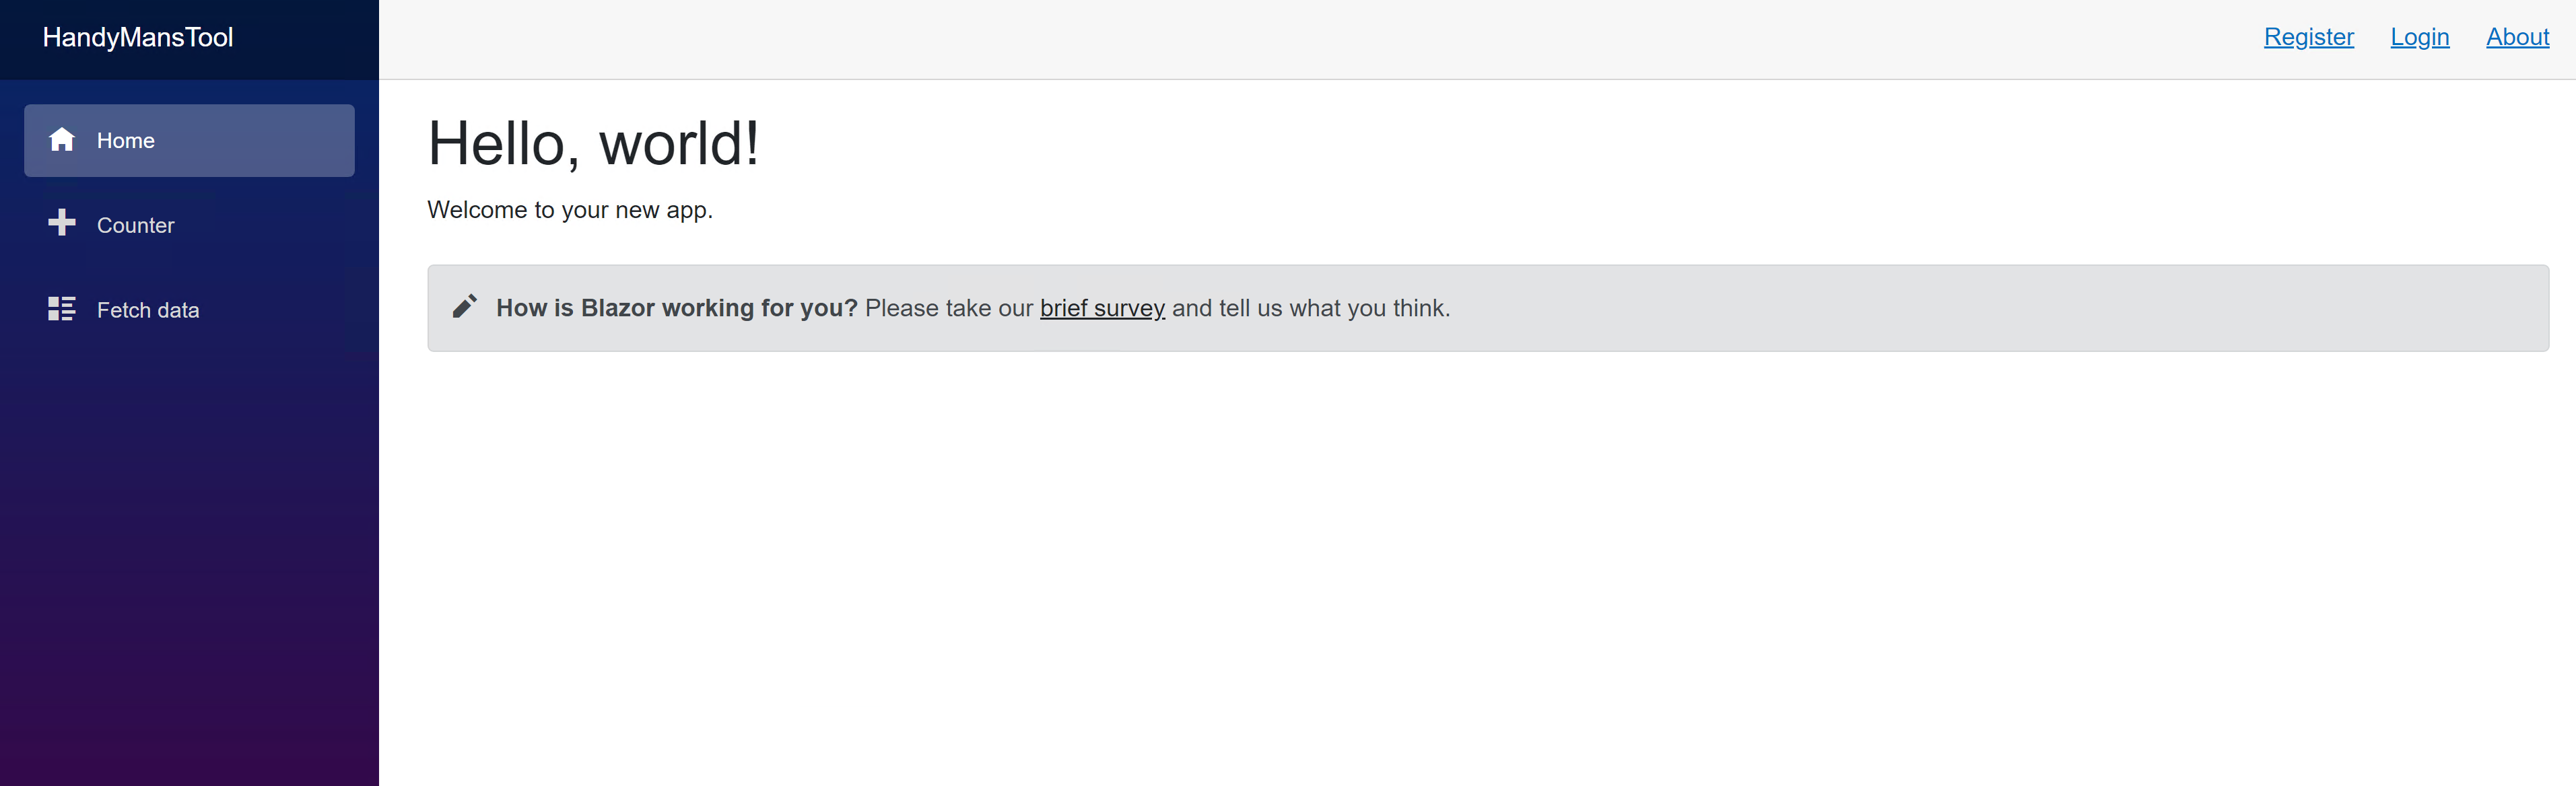
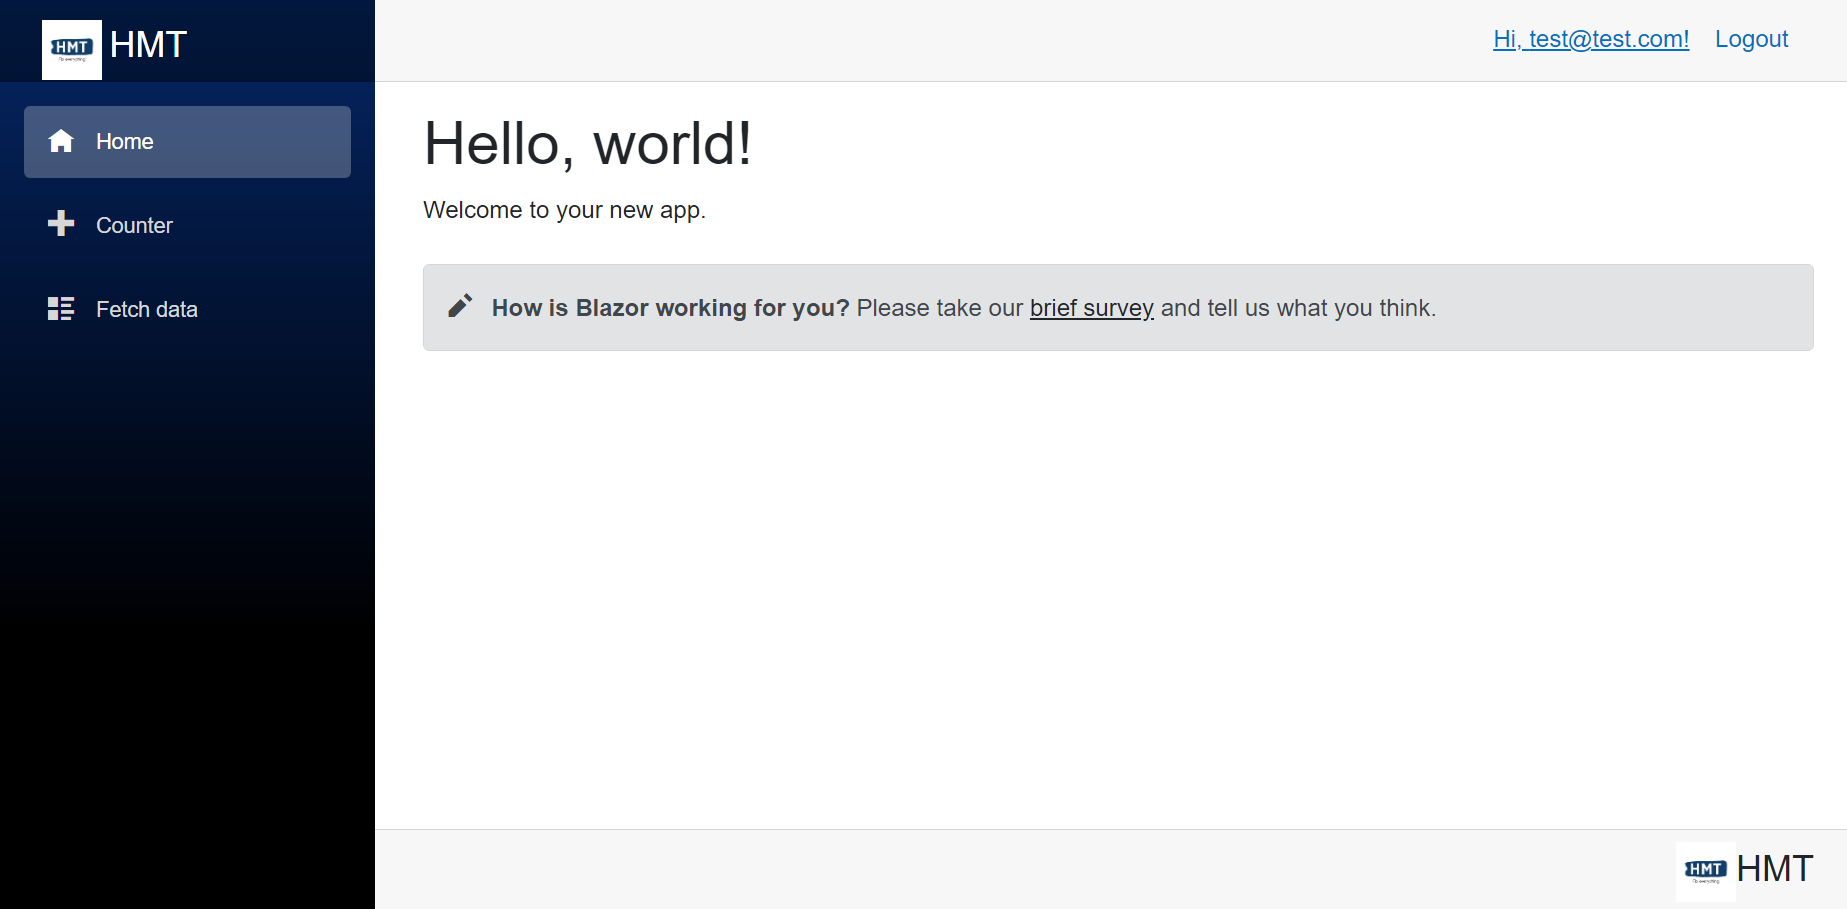
对于这个页面,最初的加载方式如下:
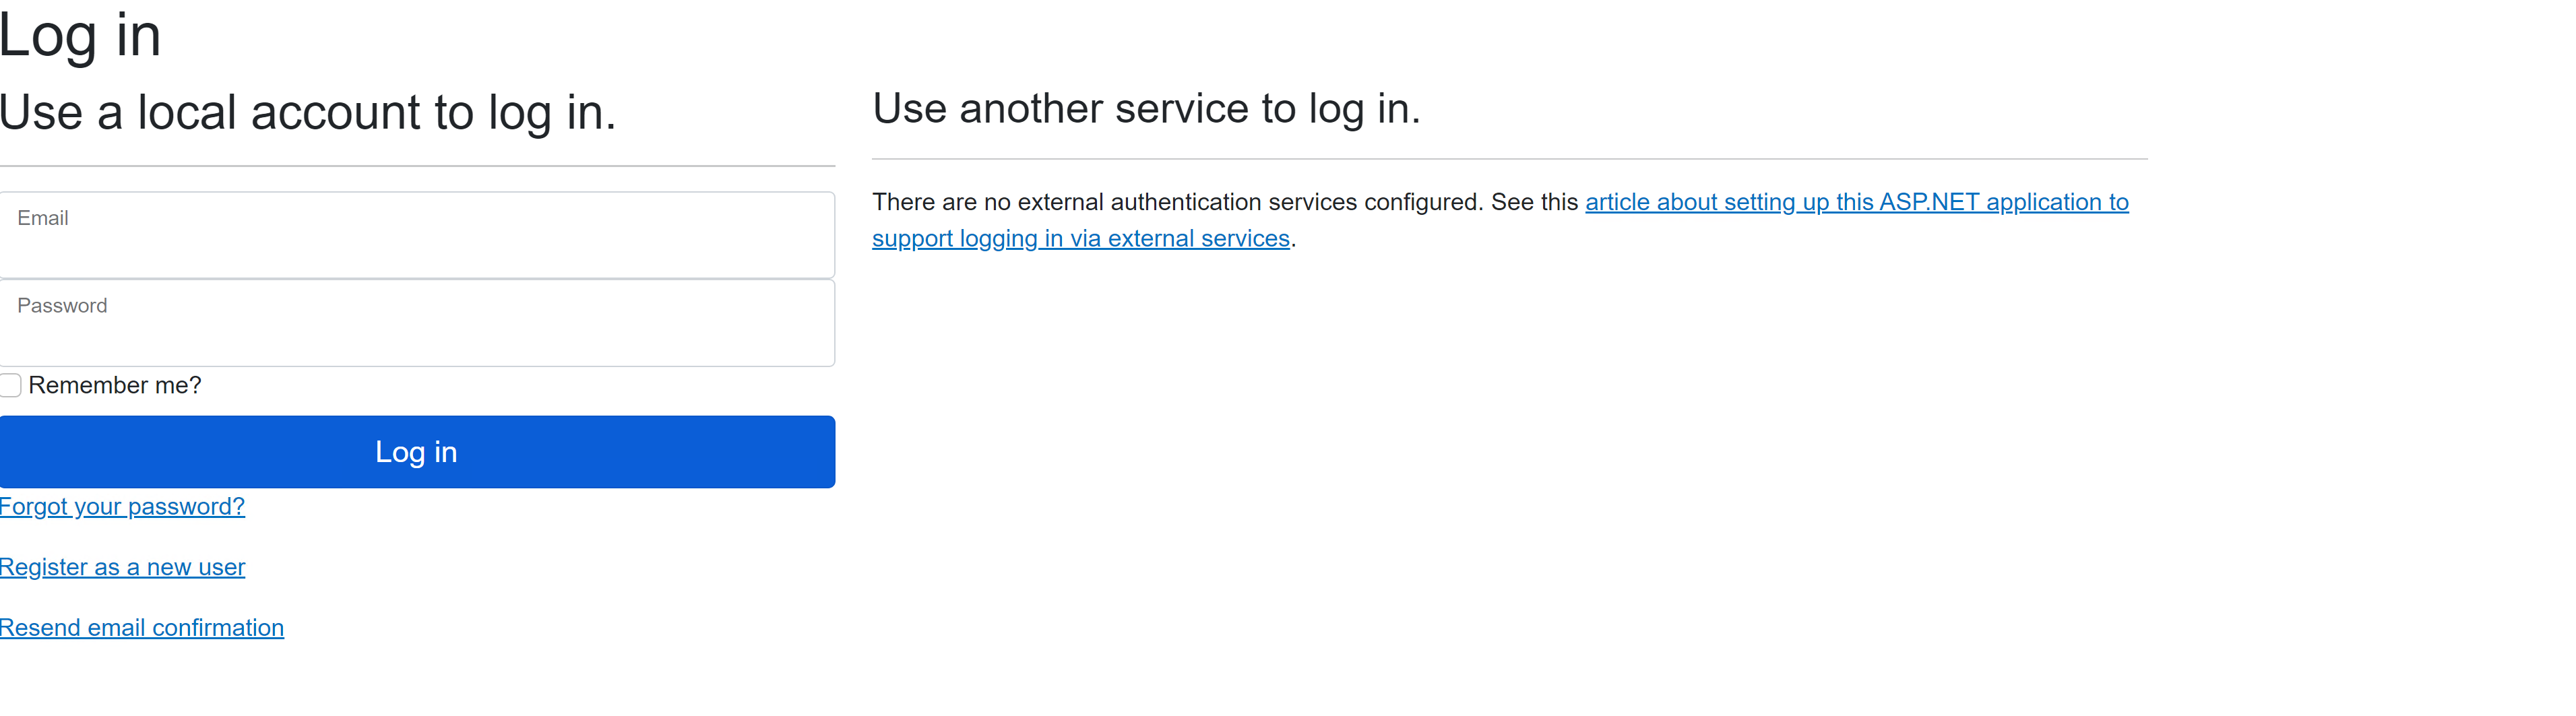
当用户点击右上角的Login链接时,登录页面就会打开,这个页面看起来很难看:
为了解决这个问题,我试着跟随微软的本指南学习。但是我遇到了这个错误(代码链接):
The name 'Engine' does not exist in the current context有人能引导我在正确的方向,风格识别Razor页面在Blazor,以获得一个一致的外观和感觉与其余的应用?微软学习指南似乎缺乏。
回答 1
Stack Overflow用户
发布于 2022-11-11 22:21:17
文档完全忽略了需要添加到_Layout.cshtml文件顶部的这2行代码:
@using Microsoft.AspNetCore.Mvc.ViewEngines
@inject ICompositeViewEngine Engine
添加这些行解决了错误。
然而,我甚至没有走到最后的路线。
如果您对我的完整解决方案感兴趣,这就是我最后所做的:
总之,我取了MainLayout.razor并将其放入_Layout.cshtml中。
如果下面提到的步骤很难遵循,请查看代码。完整的源代码是这里。
演示
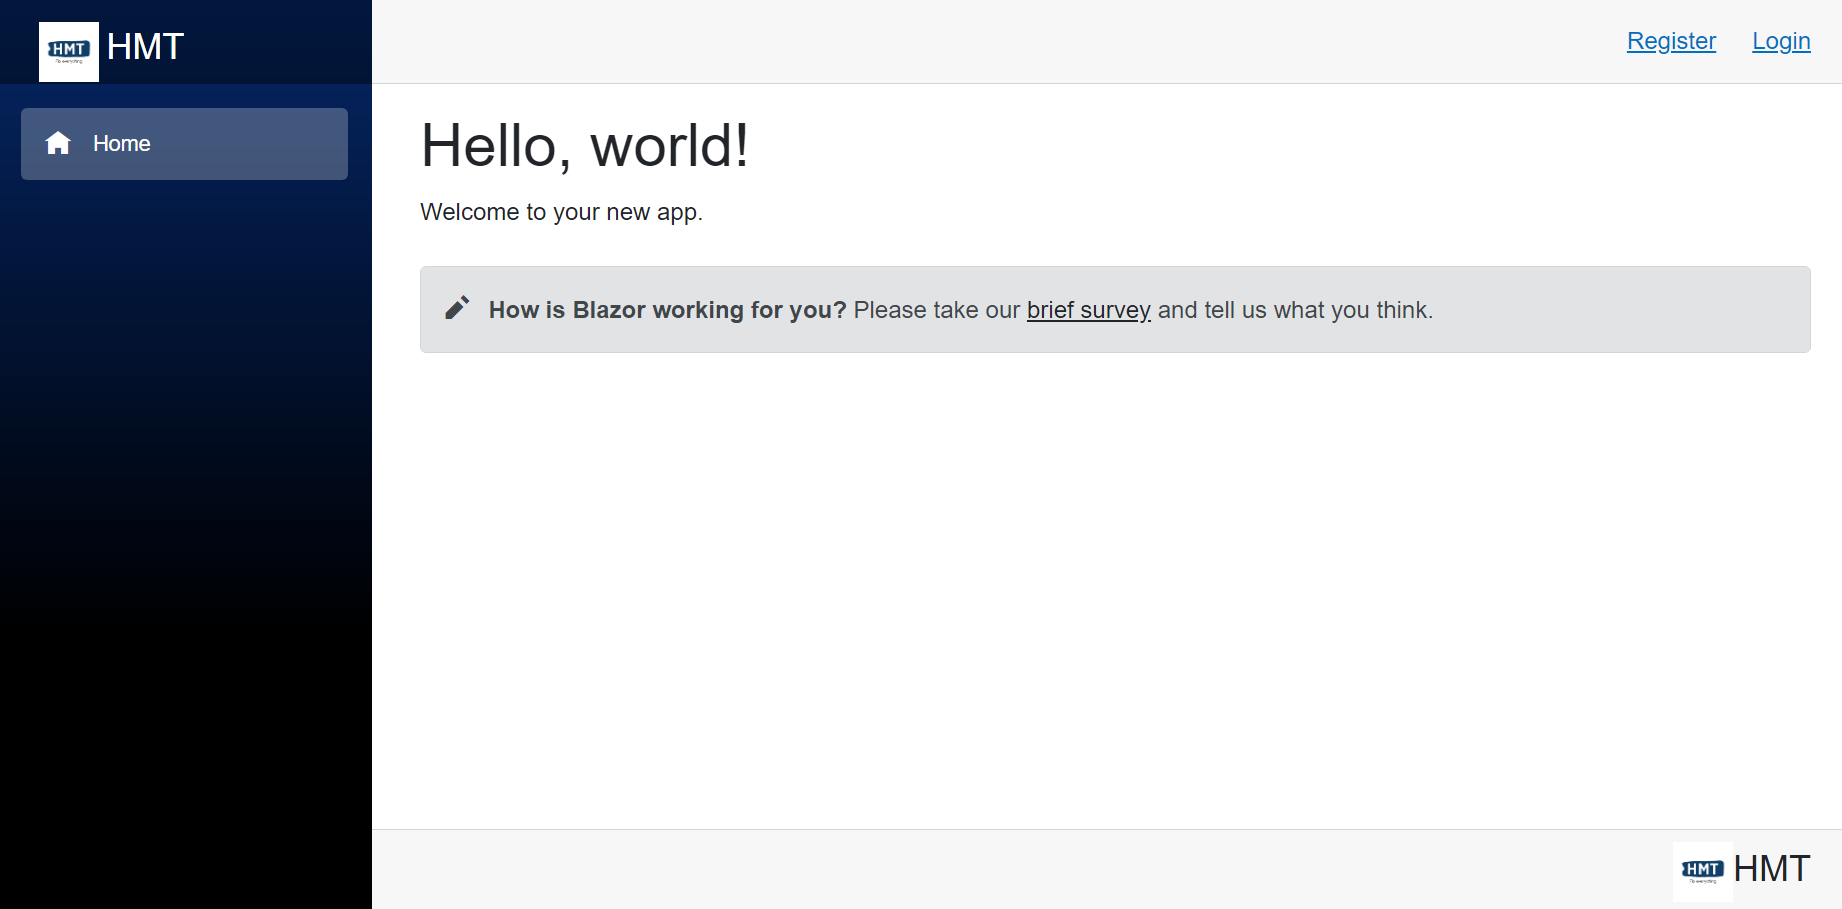
未经授权的视图
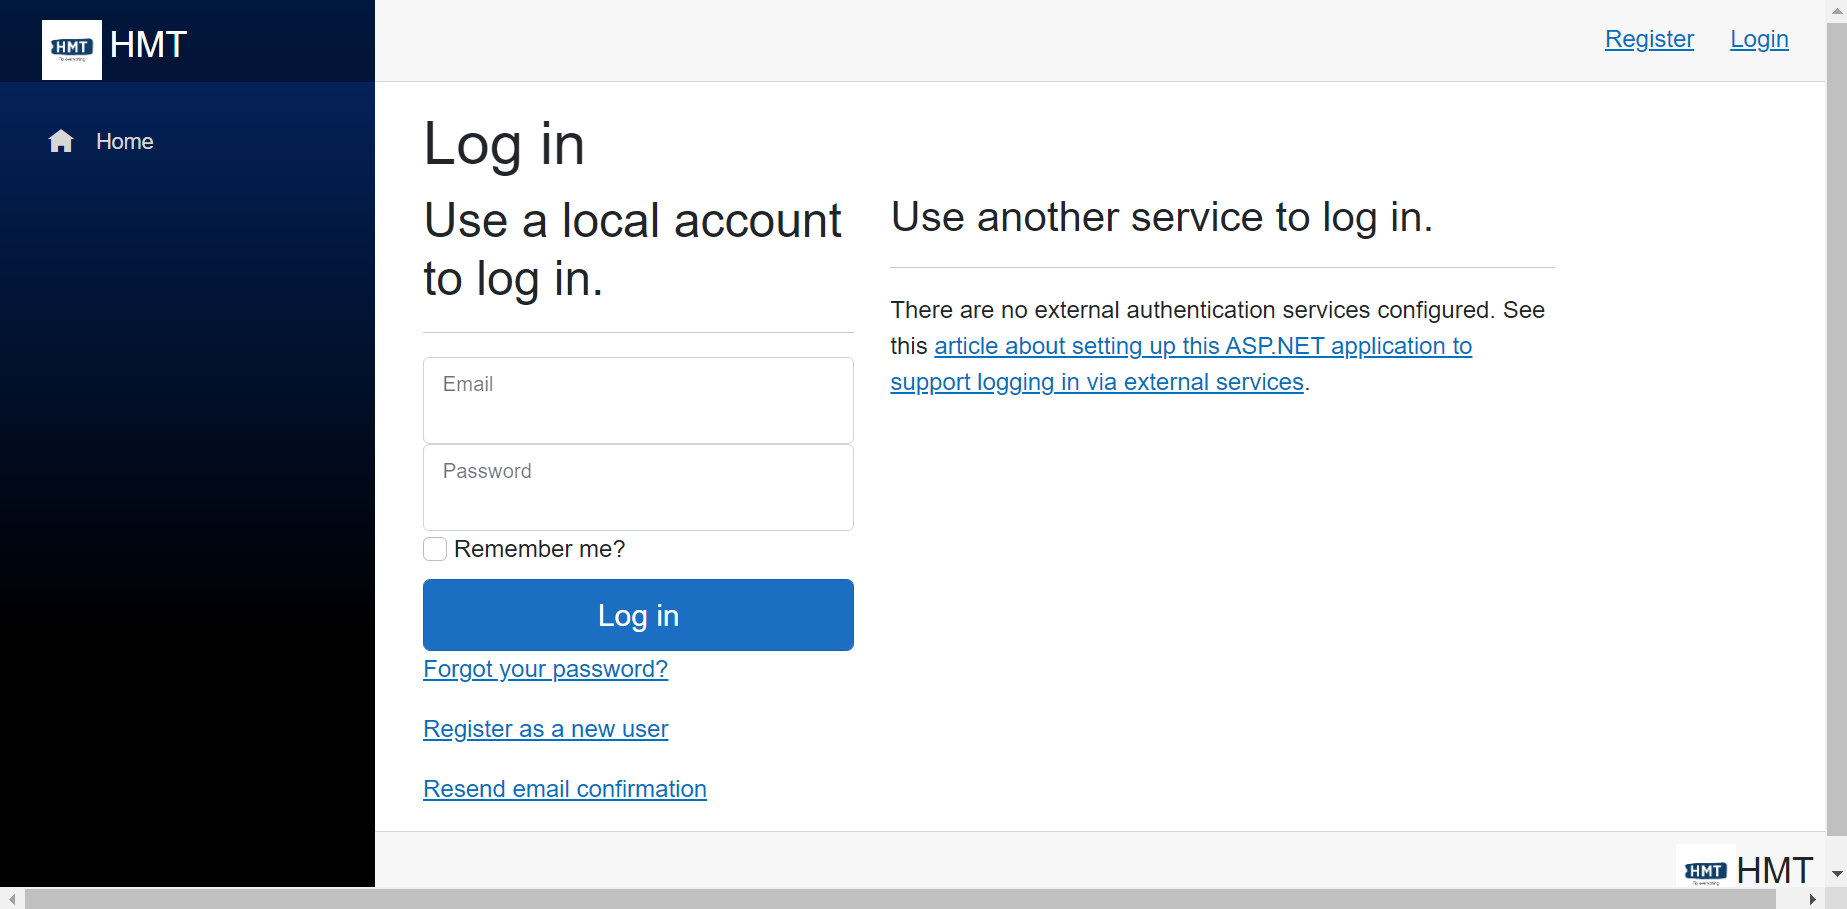
登录页
授权视图
步骤1:
由于我们在NavMenu和LoginDisplay剃须刀组件中使用_Layout.cshtml,将它们添加到_Layout.cshtml顶部
@using HMT.Web.Server.Features.Shared.Layout.NavMenu
@using HMT.Web.Server.Features.Identity
第2步:
将<body>替换为:
<body>
    <div class="page">
        <div class="sidebar">
            <component type="typeof(NavMenu)" render-mode="ServerPrerendered" />
        </div>

        <main>
            <div class="top-row px-4 logindisplay">
                <component type="typeof(LoginDisplay)" render-mode="ServerPrerendered" />
            </div>

            <article class="content px-4">
                @RenderBody()
            </article>

            <div class="bottom-row px-4">
                <a href="">
                    <img src="/images/logo-black.png" width="40"/>
                    <span class="fs-4">HMT</span>
                </a>
            </div>

            <div id="blazor-error-ui">
                <environment include="Staging,Production">
                    An error has occurred. This application may no longer respond until reloaded.
                </environment>
                <environment include="Development">
                    An unhandled exception has occurred. See browser dev tools for details.
                </environment>
                <a href="" class="reload">Reload</a>
                <a class="dismiss"></a>
            </div>
        </main>
    </div>

    <script src="~/Identity/lib/jquery/dist/jquery.js"></script>
    <script src="~/Identity/lib/bootstrap/dist/js/bootstrap.bundle.js"></script>
    <script src="~/Identity/js/site.js" asp-append-version="true"></script>
    @RenderSection("Scripts", required: false)
    <script src="_framework/blazor.server.js"></script>
</body>
如果您认为我只是从MainLayout.razor中剪切和粘贴了MainLayout.razor部分,那么您是完全正确的。
第3步:
创建: Features/Shared/Layout/___Layout.cshtml.css文件。现在,剪切并粘贴从MainLayout.razor.css到_Layout.cshtml.css的所有css样式。作为参考,这就是为什么矿藏看起来就像。
第4步:
MainLayout.razor中剩下的全部内容是:
@inherits LayoutComponentBase
<PageTitle>Handy Man's Tool</PageTitle>
@Body
第5步:
AuthorizeView在LoginDisplay.razor中用<CascadingAuthenticationState>包装。原因是,如果您尝试使用一个Razor组件,其中包含来自没有使用Authorize的组件的Razor组件,那么它将无法工作,这就是为什么没有<CascadingAuthenticationState>的<component type="typeof(LoginDisplay)" render-mode="ServerPrerendered" />在_Layout.cshtml中不能工作的原因。
步骤6:
如果要在NavMenu中保护NavMenu中的NavMenu,请将它们封装在AuthorizeView中,并且由于NavMenu是从_Layout.cshtml呈现的,所以不要忘记将它们封装在<CascadingAuthenticationState>中。我的看上去像这样:
<CascadingAuthenticationState>
    <div class="@NavMenuCssClass" @onclick="ToggleNavMenu">
        <nav class="flex-column">
            <div class="nav-item px-3">
                <NavLink class="nav-link" href="" Match="NavLinkMatch.All">
                    <span class="oi oi-home" aria-hidden="true"></span> Home
                </NavLink>
            </div>
            <AuthorizeView>
                <div class="nav-item px-3">
                    <NavLink class="nav-link" href="counter">
                        <span class="oi oi-plus" aria-hidden="true"></span> Counter
                    </NavLink>
                </div>
                <div class="nav-item px-3">
                    <NavLink class="nav-link" href="fetchdata">
                        <span class="oi oi-list-rich" aria-hidden="true"></span> Fetch data
                    </NavLink>
                </div>
            </AuthorizeView>
        </nav>
    </div>
</CascadingAuthenticationState>
步骤7:
删除以下文件,因为它们是不必要的:
- Areas/Identity/Pages/_ValidationScriptsPartial.cshtml (因为我没有覆盖它)。
- 特性/共享/布局/_ViewImports.cshtml
- 特性/Shared/Layout/_LoginPartial.cshtml(改为使用LoginDisplay )
全源代码
https://github.com/affableashish/blazor-server-auth/tree/feature/LayoutWithIdentityPages
https://stackoverflow.com/questions/74405268
复制相似问题
腾讯云开发者

Copyright © 2013 - 2026 Tencent Cloud. All Rights Reserved. 腾讯云 版权所有
深圳市腾讯计算机系统有限公司 ICP备案/许可证号:粤B2-20090059 ![]() 粤公网安备44030502008569号
粤公网安备44030502008569号
腾讯云计算(北京)有限责任公司 京ICP证150476号 | 京ICP备11018762号